Installation Guide
Page content
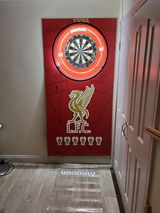
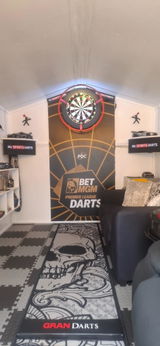
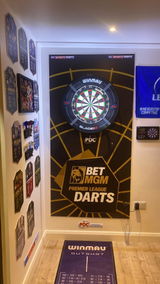
Your 180DartDesigns backboard is made from lightweight 5mm Foamex, so it's quick and easy to put up. Here's how we recommend mounting it.
What you'll need
- Good quality double-sided mounting tape
- Tape measure and pencil
- Drill and the right drill bit for your wall
- Your dartboard bracket and fixings
- Optional: screws and screw caps
Recommended method: double-sided tape and your dartboard bracket
- Apply the tape. Put a strip of good quality double-sided tape around all the edges on the back of the backboard, then add one strip down the centre.
- Position the backboard. Peel off the backing, line the backboard up where you want it on the wall and press it firmly into place.
- Mark your bracket holes. For a new setup, mark where your dartboard bracket goes. If you're putting the board back up in the same spot, use a tape measure to find your existing holes and mark them on the backboard.
- Drill through. Drill your bracket holes through the backboard and into the wall.
- Fix the bracket. Screw your dartboard bracket to the wall through the backboard. Once the bracket is fixed, it locks everything securely into place.
- Hang your dartboard and you're ready to throw.
Alternative method: screws with screw caps
You can also fix the backboard straight to the wall with screws. Use screw caps to cover the screw heads and keep the finish clean.
Tips
- Make sure the wall is clean, dry and dust-free before you apply the tape.
- Check for hidden pipes and cables before you drill.
- Use the right wall plugs and fixings for your wall type.
Need a hand? Get in touch and we'll be happy to help.